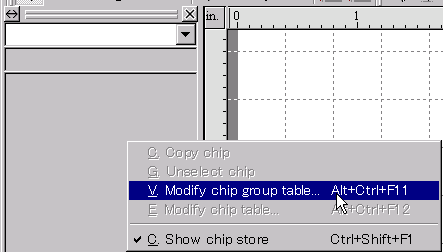
Right-click in the Chip Store area.
A popup menu will be displayed, then click the [Modify chip group table]
command.
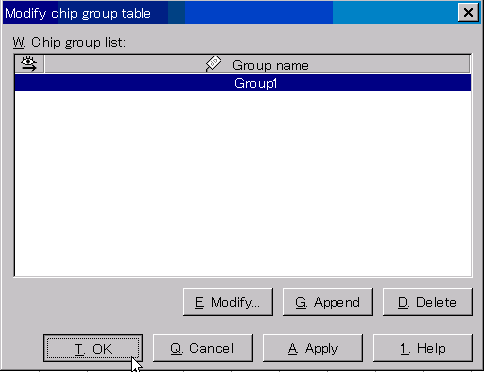
The [Modify chip group table] dialog will be displayed.
Push the [Add] button.
Make sure that a group named 'Group1' has been added and push the [OK]
button.
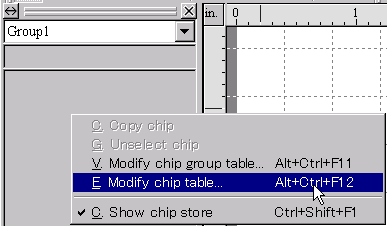
Right-click in the Chip Store area.
A popup menu will be displayed, then click the [Modify chip table] command.
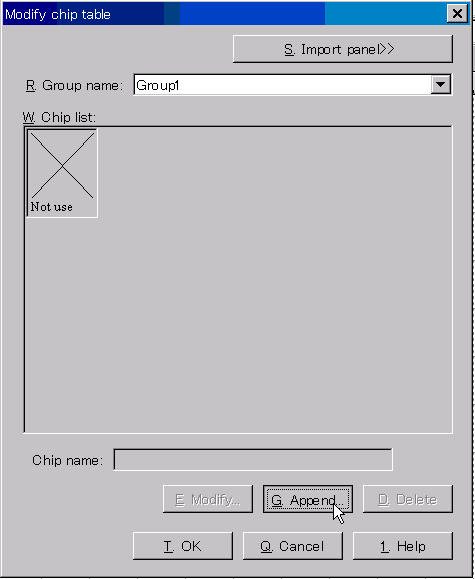
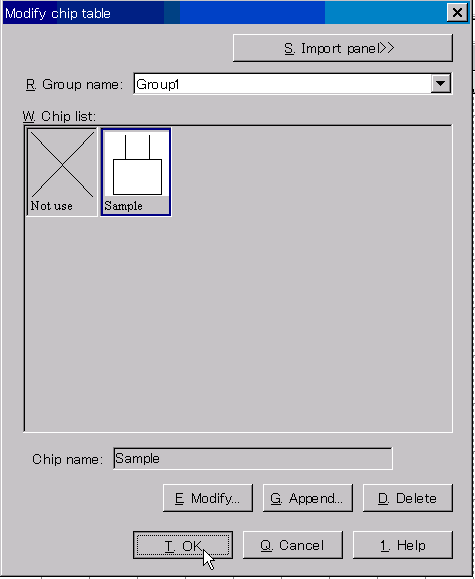
The [Modify chip table] dialog will be displayed.
Push the [Add] button.
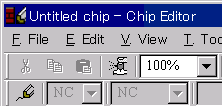
The Chip Editor will be executed and the window will be displayed.

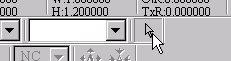
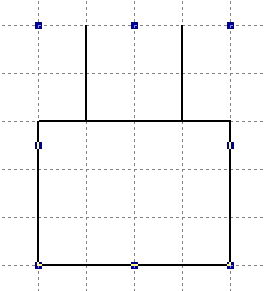
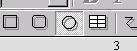
Activate the [Rectangle tool] and make a rectangle.
![]()

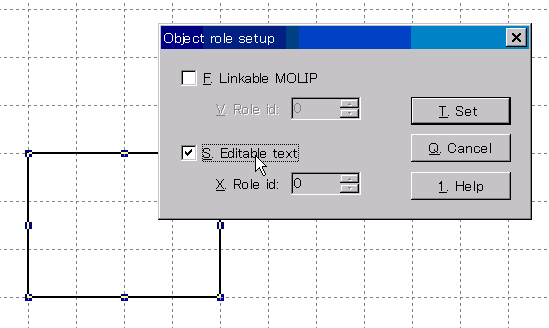
Select the rectangle and click the [Object role setup] command.

The [Object role setup] dialog will be displayed.
Tick off the [Editable text] and push the [Set] button.
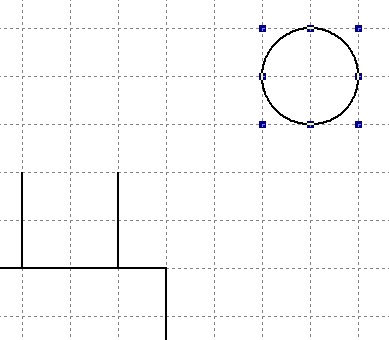
Activate the [Line tool] command and draw two lines as illustrated in the following graphic.
![]()

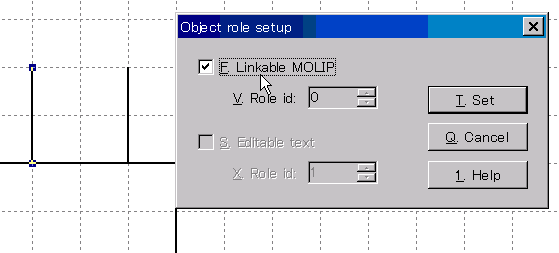
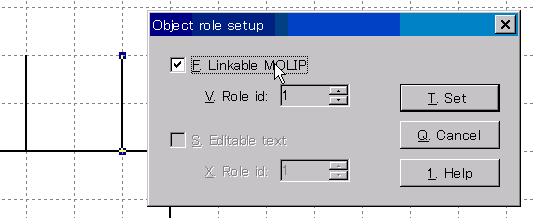
Select the left line and click the [Object role setup] command.

The [Object role setup] dialog will be displayed.
Tick off the [Linkable MOLIP] and push the [Set] button.
Select the right line and show the [Object role setup] dialog.
Tick off the [Linkable MOLIP] and push the [Set] button.
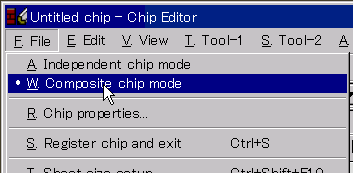
Click the menu [File] > [Composite chip mode].
Click the menu [File] > [Register chip and exit].
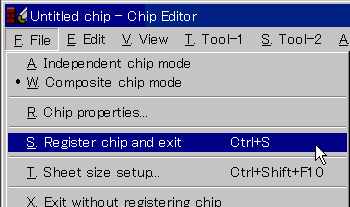
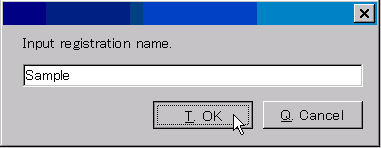
The following dialog will be displayed.
Input 'Sample' and push the [OK] button.
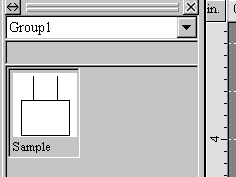
Make sure that the new chip has been added in the Chip list.
Push the [OK] button.
Drag the new chip in the Chip Store toward the canvas.
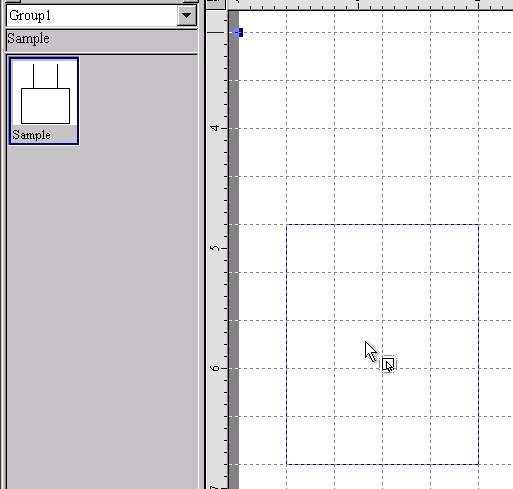
The chip will be duplicated.
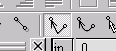
Click the [Arc tool] command and make a circle.
Make sure that the [Snap] is not effective.
![]()
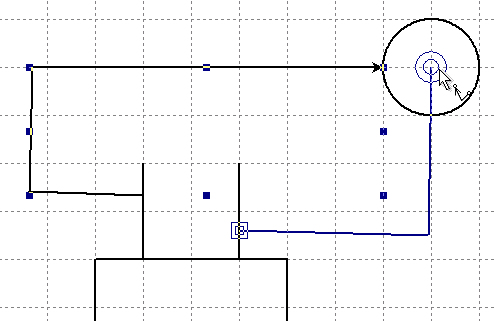
Activate the [Arrowed polyline tool] command.
Move the mouse pointer around the chip in the canvas.
A combination of two rectangles will appear on the vertical lines and not
appear on other objects.
It shows that the vertical lines are the only objects linkable.
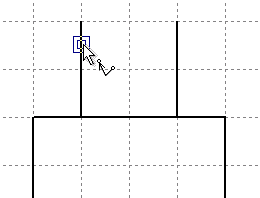
Draw polylines as illustrated in the following graphic.
Click the menu [File] > [Export].
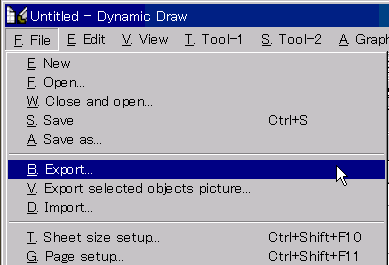
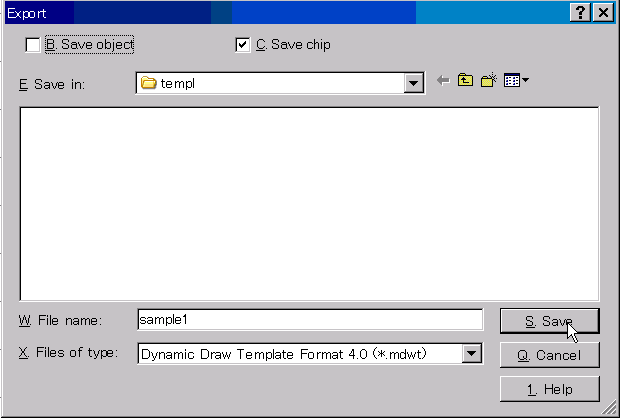
The [Export] dialog will be displayed.
Clear the [Save object] checkbox and tick off the [Save chip] checkbox.
Set 'Dynamic Draw Template Format 4.0' in the [File of type].
Set an appropricate folder to the [Save in] and input 'sample1' in the
[File name].
Push the [Save] button.
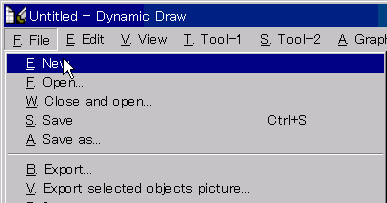
Click the menu [File] > [New].
A new Dynamic Draw will be run and the window will be displayed.
Click the menu [File] > [Import].

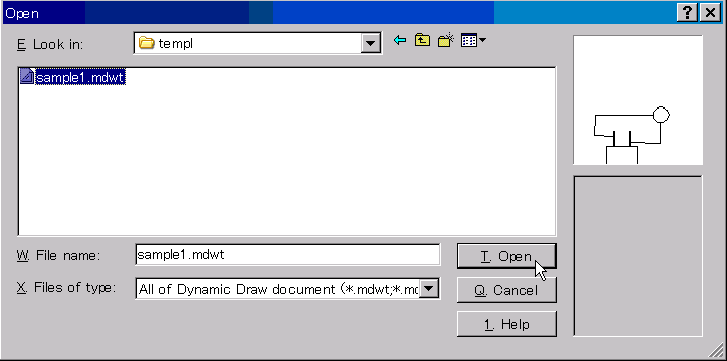
The [Open] dialog will be displayed.
Choose the last exported file and push the [Open] button.
Make sure that the chip has been imported.