Start up Chip Editor.
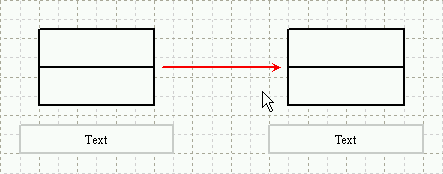
Create a table object and a rectangle object as illustrated in the following
graphic.
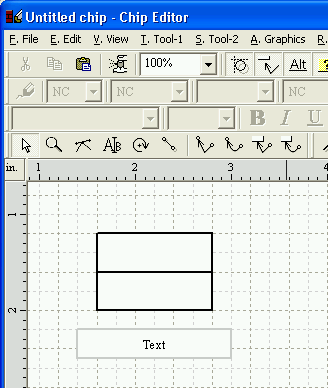
Select these objects both.

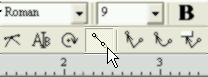
Activate the [Link tool] command in the toolbar.
While keeping the Control-key pressed, stay the mouse pointer on the small rectangle mark at the bottom of the table object.
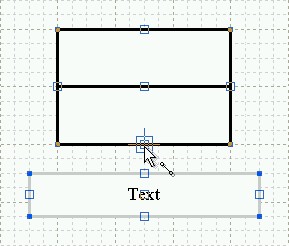
When a combination of a cross and a rectangle mark appears, hold down the
left mouse button and drag the mouse pointer at the center of the rectangle
object.
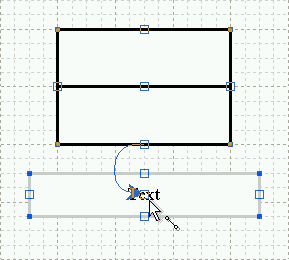
When the mark appears again, release the left mouse button.
As a result, the table object will be linked to the rectangle object.
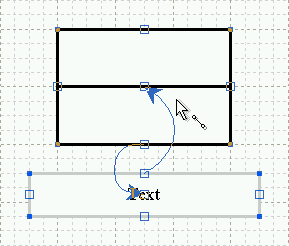
In the same way as, link the rectangle object to the table object.
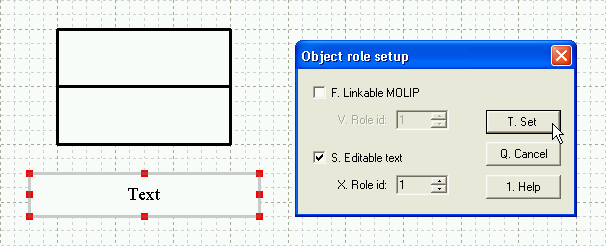
Using the [Object role setup] commnad, charge the table object with [Linkable MOLIP] role and [Editable text] role.
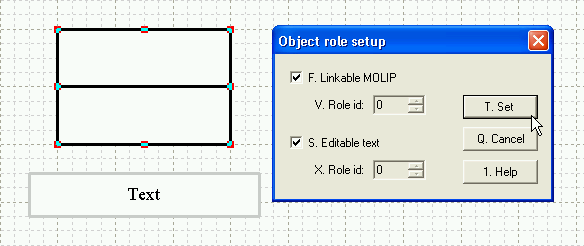
Charge the rectangle object with [Editable text] role.
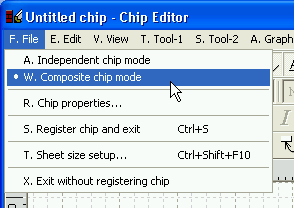
Choose [File] > [Composite chip mode] from the top menu.
By doing this, the chip that will be created becomes a single object.
If you chose [Independent chip mode], the chip would become composed of
two objects.
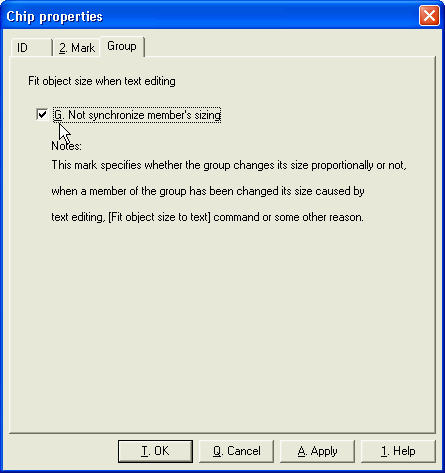
Show the [Chip properties] dialog by choosing [File] > [Chip properties].
Mark the [Not synchronize member's sizing] checkbox marked.
Click on the [OK] button to close the dialog.
Choose [File] > [Register chip and exit] from the top menu to exit Chip
Editor.
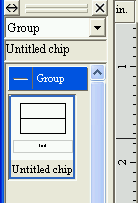
Activate Dynamic Draw and confirm that the chip is added in the Chip Store.
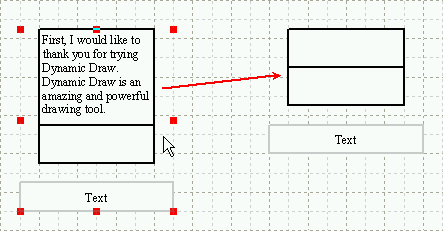
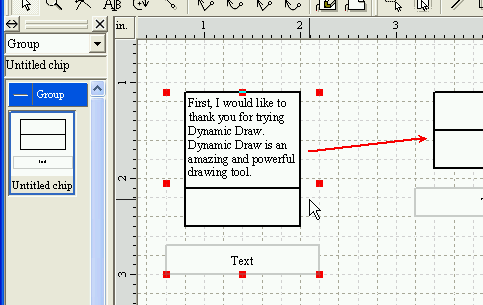
Using the chip, make the following figure.
Type large text into the table object of the chip object, and confirm the rectangle object will be moved down automatically, keeping consistent spacing with the table.