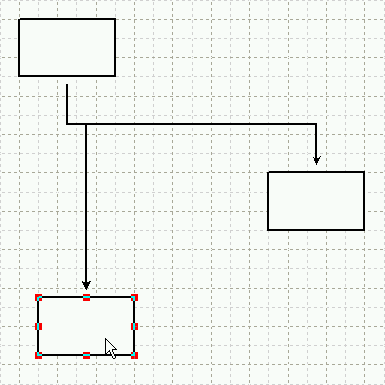
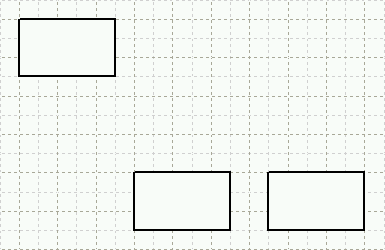
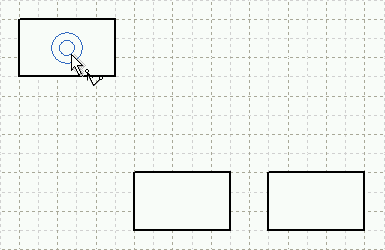
Make three rectangle objects as illustrated in the following graphic.
Activate the [Arrowed polyline tool] command in the toolbar.
Stay the mouse pointer at the center of a rectangle object.
When a double circle is displayed, click with the left mouse button.
While keeping the Shift-key pressed, move the mouse pointer down, and then
click with the left mouse button to make a first joint.
When the joint has been created, move the mouse pointer to the right and
click with the left mouse button to make a second joint.
Move the mouse pointer down again and stay at the center of a rectangle
object.
When a double circle is displayed, click with the left mouse button.
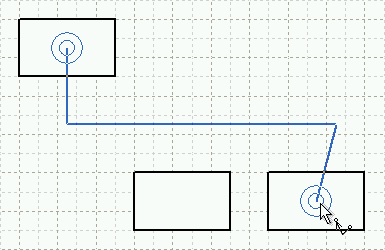
An edge will be created connecting two Nodes.
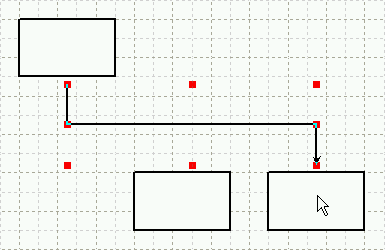
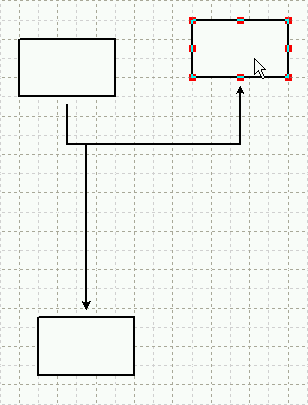
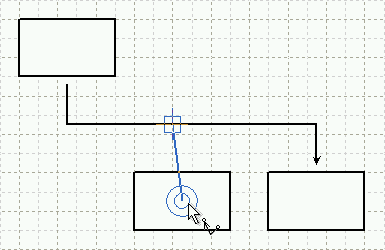
Activate the [Arrowed polyline tool] command, and stay the mouse pointer at the middle position of the edge.
When a combination of a cross and a rectangle mark appears, click with
the left mouse button.
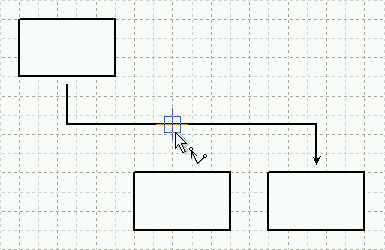
While keeping the Shift-key pressed, move the mouse pointer down and stay
at the center of the rectangle object.
When a double circle is displayed, click with the left mouse button.
The three Nodes will be connected with a branched Edge.
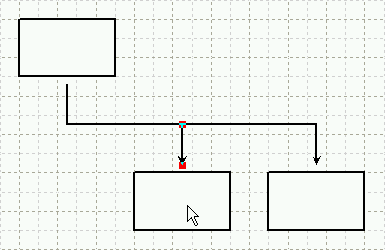
Move a Node and confirm that the branched edge will follow the Node just moved.