Start Dynamic Draw.
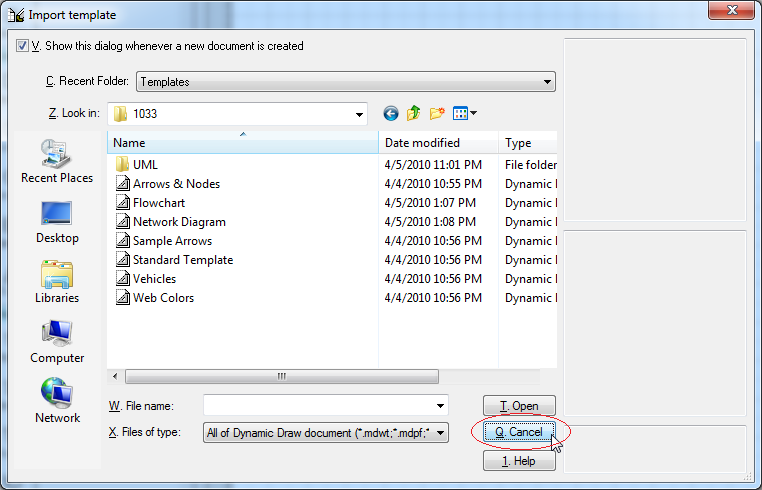
If the [Import template] dialog is displayed, click the Cancel button to
close it.
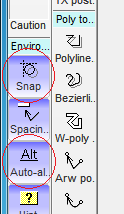
Confirm that the [Snap] and [Auto-alt key] are activated.
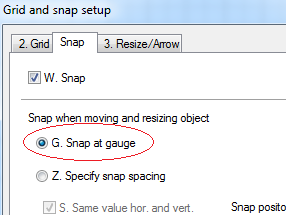
Click the menu [Options] > [Grid and snap setup].
Open the [Snap] tab page and choose the [Snap at gauge] button, to reduce
the space of snapping when zooming in.
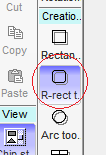
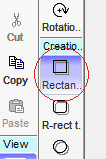
Type "SS" to activate the [Rounded rectangle tool].
Hold down the left mouse button in the canvas, then move the mouse pointer
lower right.
When the rectangle becomes appropriate size, release the left mouse button.
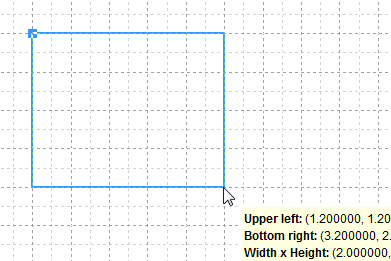
A rounded rectangle will be created.
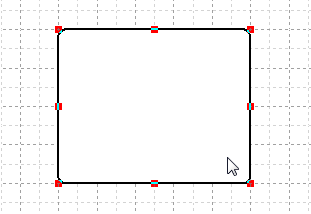
Click the right mouse button on the rounded rectangle, then choose the [Properties] menu item.

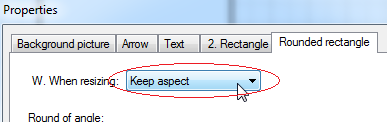
Open the [Rounded rectangle] tab page and select the [Keep aspect when resizing], to become the radius of the corner in proportion to the size of the rectangle.
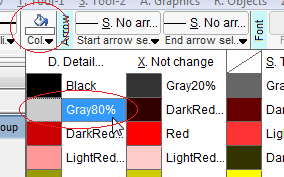
Click the [Brush color selection] button in the toolbar then choose the [Gray80%] color.
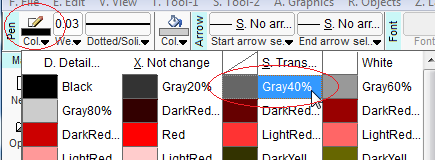
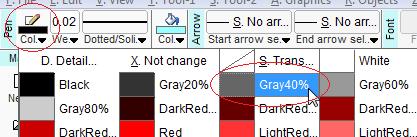
Click the [Pen color selection] button in the toolbar then choose the [Gray40%] color.
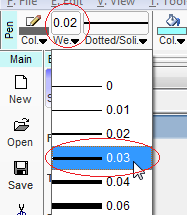
Click the [Pen weight selection] button in the toolbar then choose the [0.03] inch.
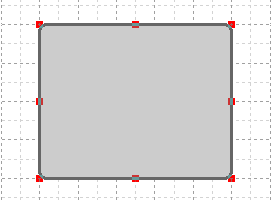
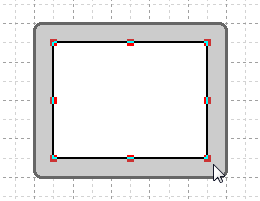
The rounded rectangle will become like the following graphic.
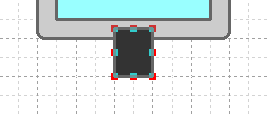
Type "SR" to activate the [Rectangle tool].
Draw a rectangle in the rounded rectangle.
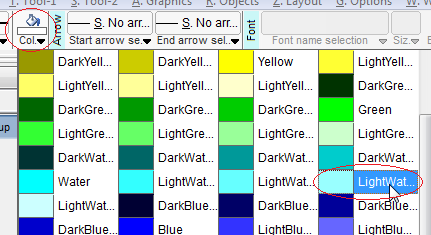
Change the color of the pen, the color of the brush and the weight of the pen. See the following three graphics.

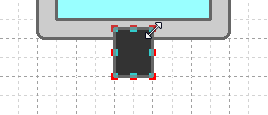
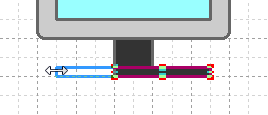
Make a rectangle at the bottom of the rounded rectangle, as a stand.
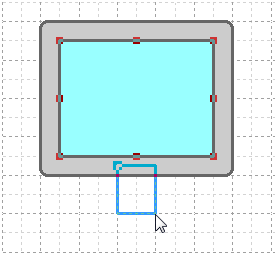
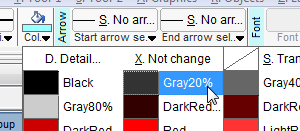
Set the color of the brush.
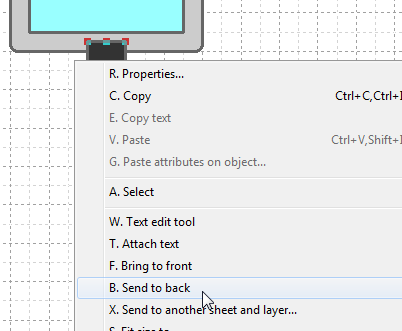
Click the right mouse button then choose the [Send to back] menu item, to send the rectangle to back of the rounded rectangle.
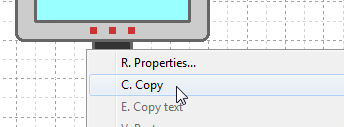
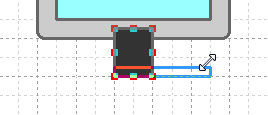
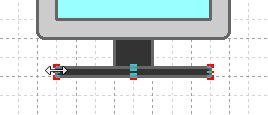
Duplicate the rectangle.

Transform the duplicated rectangle and make the foot of the stand.
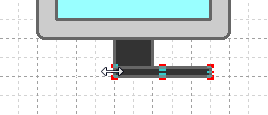
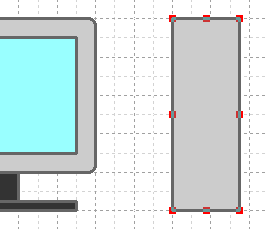
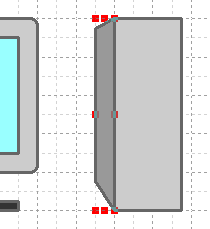
Make a rectangle next to the monitor.
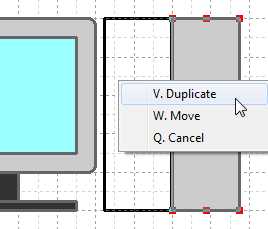
Hold down the right mouse button on the rectangle. Then move the mouse pointer left.
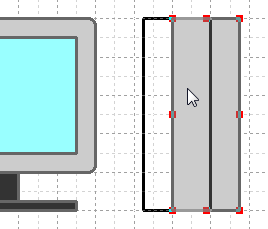
Release the right mouse button and choose the [Duplicate] menu item, so that the new rectangle becomes adjacent to the original rectangle.

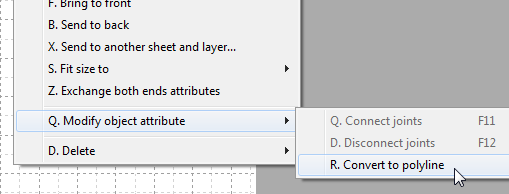
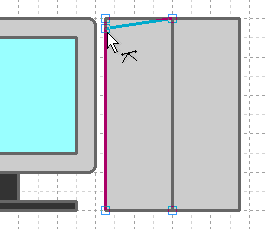
Click the right mouse button then choose the [Modify object attribute] > [Convert to polyline] menu item, to convert the rectangle to the polyline.
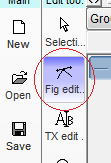
Activate the [Figure edit tool].
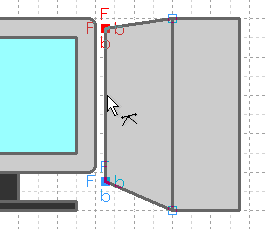
Drag the polyline's joints and transform it like the following graphics.
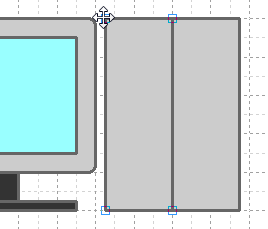
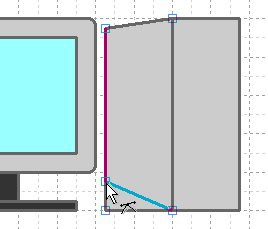
Hold down the left mouse button on the line of the polyline and drag it right.

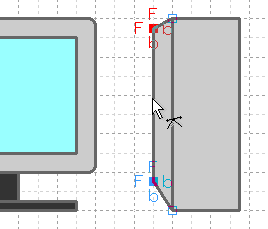
Activate the [Selection tool].

Change the color of the polyline darker.
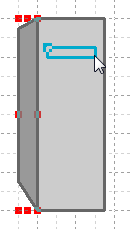
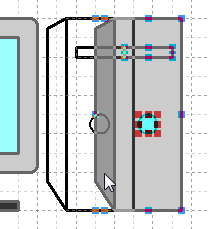
Draw the DVD deck with a rectangle.
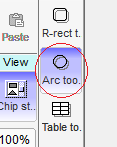
Activate the [Arc tool].
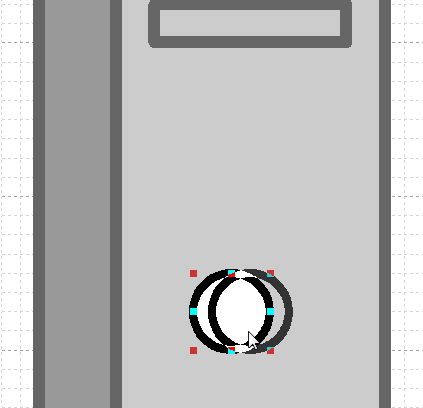
Draw a circle as a power button.
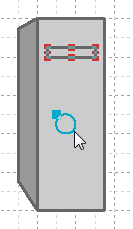
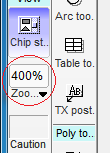
Zoom in 4 times to fine adjust the position of the power button.
Adjust the position of the circle.
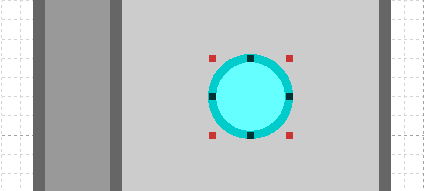
Change the color of the circle.
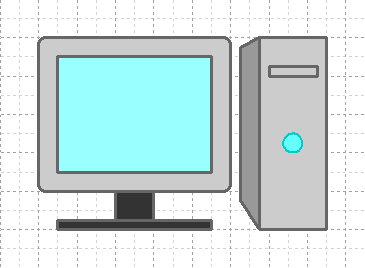
Hold down the left mouse button at the upper left of the computer. Then move the mouse pointer to the lower right of it and release the left mouse button, to select all objects compose the computer illstration.
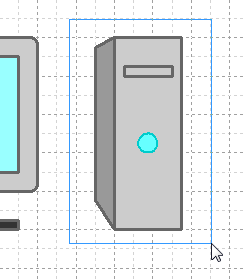
Move the computer illustration left.
The illustration is completed.
