PNG is useful format for opening to the public in the WEB.
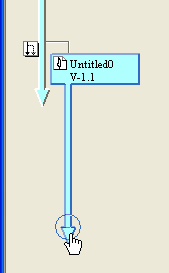
- Activate the [Tree view mode] in the History console.

- Move the active position of the History at the end of the History Line.

- Click the Menu [Edit] > [Select] > [Select all].

- Every Object in the Canvas will be selected.

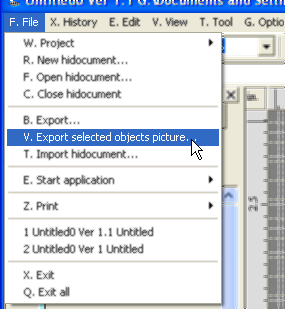
- Click the Menu [File] > [Export selected objects picture].

- The dialog [Export selected objects picture] will be displayed.
Choose the [PNG file (*.png)] in the [Files of type], type appropriate name into the [File name] then click the button [Save].

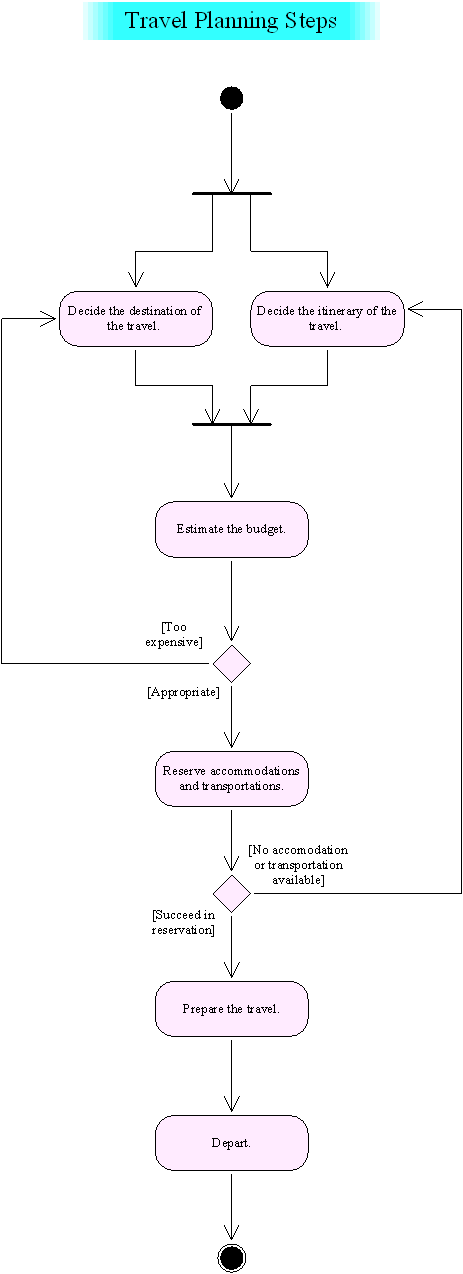
- A PNG file will be created as illustrated in the following graphic.
